
How to Sharpen Your Knife Like a Pro
A sharp knife isn’t just a kitchen essential — it’s a tool of precision, safety, and performance. Whether you’re slicing vegetables, carving meat, or field dressing a game, a dull blade can turn the simplest task into a frustrating challenge. But don’t worry — sharpening your knife like a pro isn’t as hard as it sounds. With the right tools and techniques, you can restore that razor-sharp edge and keep your knives performing at their best.
In this guide, we’ll walk you through everything you need to know to sharpen your knives like a pro — from choosing the right sharpening tools to perfecting your technique.
Why Sharpening Matters
A dull knife is more dangerous than a sharp one. Why? Because it requires more pressure to cut through materials, increasing the chance of slipping and injury. Additionally, a dull knife tears instead of slicing, damaging food and making clean cuts impossible.
Regular sharpening not only extends the life of your knife but also makes cooking, hunting, or outdoor use more efficient and enjoyable.
Types of Knife Sharpeners
Before diving into the sharpening process, it’s essential to understand the different types of sharpening tools available:
1. Whetstones (Sharpening Stones)
Whetstones are the most traditional and preferred method by professionals. They come in various grits:
- Coarse (200–600 grit): For repairing nicks and reshaping edges.
- Medium (800–2000 grit): Ideal for regular sharpening.
- Fine (3000+ grit): Used for polishing and refining the edge.
2. Honing Rods
Often confused with sharpeners, honing rods (ceramic or steel) don’t actually sharpen. They realign the blade’s edge, which can bend during use. Use them regularly between sharpening sessions.
3. Electric Sharpeners
Quick and user-friendly, electric sharpeners are great for beginners but may remove more metal than necessary if overused.

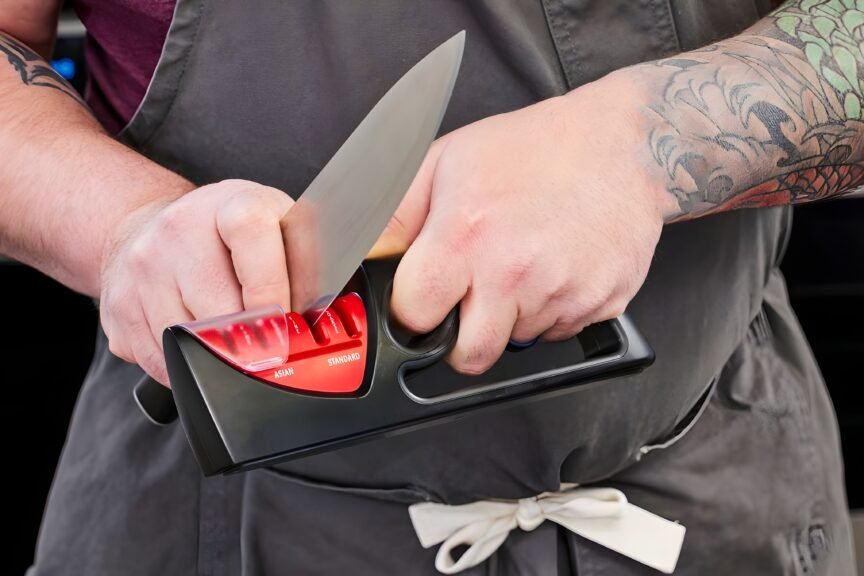
3. Pull-Through Sharpeners
Quick and user-friendly, electric sharpeners are great for beginners but may remove more metal than necessary if overused.
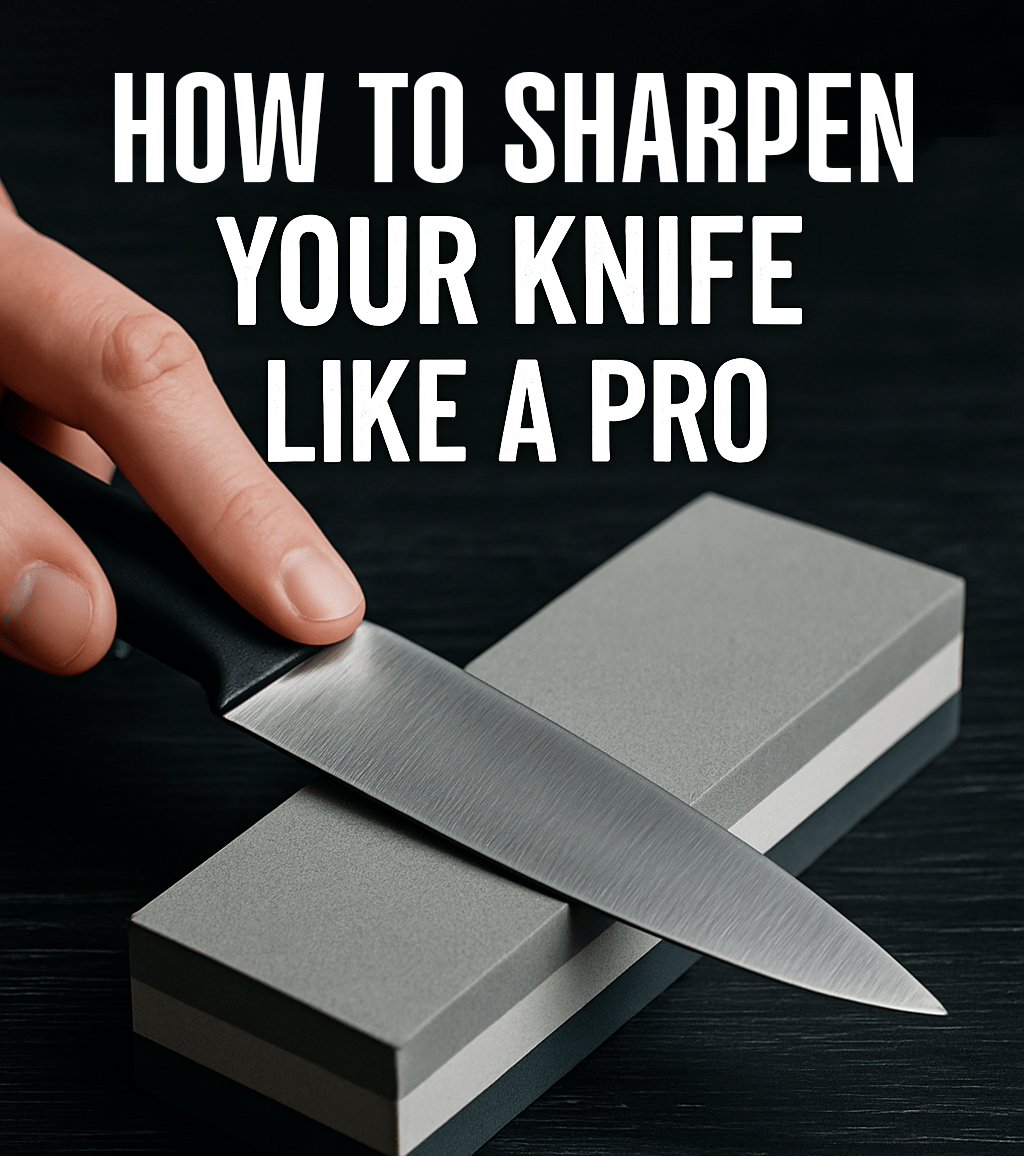
Step-by-Step Guide to Sharpening with a Whetstone
Professional chefs and knife experts often prefer whetstones for their versatility and control. Here’s how to use one like a pro:
Step 1: Soak the Stone
If you’re using a water stone, soak it in water for 10–15 minutes until bubbles stop rising. Oil stones, on the other hand, require a light coating of honing oil instead.
Step 2: Set the Correct Angle
Maintain a consistent angle between the knife and the stone. Most kitchen knives perform best at a 15–20° angle. Outdoor or hunting knives may go up to 25° for a more durable edge.
Pro Tip: You can use a sharpening angle guide or stack coins to estimate the right angle.
Step 3: Start Sharpening
Place the heel of the knife on the stone and push it forward as if you’re slicing a thin layer off the stone. Apply even pressure and sweep the blade across the entire surface from heel to tip.
Repeat this motion 8–12 times, then switch to the other side.
Step 4: Check for a Burr
A burr is a slight, raised edge on the opposite side of the blade. Once you feel the burr forming, it’s time to switch sides. The burr indicates you’ve removed enough material to form a new edge.
Step 5: Refine the Edge
Move to a finer grit stone and repeat the sharpening motion to refine and polish the edge. This makes your knife sharper and longer-lasting.
How to Hone Your Knife
Use a honing rod weekly to maintain your knife’s edge. Hold the rod vertically and run the knife down each side at a 15–20° angle about 5–7 times. This doesn’t sharpen but helps keep your blade aligned and efficient.
Signs Your Knife Needs Sharpening
Not sure if it’s time to sharpen? Here are a few signs:
- It crushes tomatoes instead of slicing them.
- It slides off onions or herbs instead of biting in.
- It requires more pressure to cut than usual.
- It fails the “paper test” — slicing a sheet of paper cleanly.
Final Tips from the Pros
- Clean your blade after sharpening to remove any metal filings or residue.
- Store your knives properly in a knife block or magnetic strip to avoid dulling.
- Don’t use glass or stone cutting boards, as they can damage your edge.
- Practice makes perfect — consistency and patience lead to professional results.